Babyproofing means making your home safe for young children by removing dangers and adding safety measures to prevent injuries. As a parent, I know this task can feel overwhelming when you look around your house and see risks everywhere. Unintentional injuries are one of the leading causes of death and disability for children under five years old worldwide, which makes babyproofing essential rather than optional.
The key to successful babyproofing is staying one step ahead of your child’s development while managing risks in every room of your home. I’ve learned that effective child safety isn’t about buying every product on the market or turning your home into a padded cell. It’s about identifying the most serious hazards and addressing them with practical solutions that fit your family’s needs.
In this guide, I’ll walk you through when to start babyproofing, which risks matter most at different ages, and how to tackle safety in each room. I’ll also cover specific dangers like toxic substances and burns that need special attention, plus how to keep your safety measures current as your baby grows.
When and How to Start Baby Proofing
Starting babyproofing before you actually need it gives you time to address hazards methodically. The most effective approach combines early preparation with understanding how your child experiences the world at ground level.
Timing Your Safety Preparations
I recommend beginning babyproofing during pregnancy with critical safety areas. Focus first on safe sleep spaces, car seats, and bathing areas. These three priorities matter most because they account for the majority of infant injuries in the first year.
You don’t need to tackle everything at once. I suggest completing the next phase of childproofing by six months, before your baby becomes mobile. Babies often hit developmental milestones earlier than expected, so staying ahead protects against surprise rolling, reaching, and crawling.
Babyproofing timeline:
- Before birth: Safe sleep environment, car seat installation, bath safety
- 0-6 months: Outlet covers, furniture anchoring, cabinet locks
- 6-12 months: Safety gates, door locks, stove guards
- 12+ months: Toilet locks, window guards, advanced climbing hazards
I don’t expect you to babyproof every room in your home. Creating at least one fully safe room where your baby can play gives you peace of mind without constant high-alert supervision.
Getting a Baby’s-Eye View
I always tell parents to get down on their hands and knees to see what their baby sees. This perspective reveals hazards you miss from standing height. Look for dangling cords, accessible outlets, sharp corners, and small objects within reach.
Crawl through each room you plan to babyproof. Check under furniture, behind doors, and inside low cabinets. I find that items stored at adult eye level seem safe until you realize climbing toddlers can reach them.
Test your babyproofing regularly as your child grows. Pull on furniture to check anchor stability. Try to defeat cabinet locks and safety gates the way a curious child would. This hands-on testing helps me identify weak points before my child does.
Prioritizing Key Risks for Babies
Small objects and unsafe cords pose the greatest immediate dangers to babies who explore by mouth and touch. I focus on removing choking hazards and eliminating strangulation risks before addressing other safety concerns.
Preventing Choking Hazards
Babies put everything in their mouths to explore the world around them. Any object smaller than a toilet paper roll can block a child’s airway.
I keep small items like coins, batteries, and buttons locked away or stored above counter height. Hard foods like whole grapes, nuts, and hard candies should never be given to children under four years old. I cut soft foods into pieces smaller than a pea.
Toys marketed for older children often contain small parts that break off easily. I check toy labels for age recommendations and throw away broken toys immediately. Deflated balloons are especially dangerous and cause more choking deaths than any other toy.
I store toxic substances like cleaning products and medicines in locked cabinets. Poison control should be programmed into my phone at 1-800-222-1222. Common items like button batteries can cause serious injuries within hours if swallowed.
Avoiding Strangulation and Pinching
Window blind cords cause multiple child deaths each year. I cut looped cords and tie up long cords at least three feet above the floor.
Drawstrings on clothing can catch on playground equipment or cribs. I remove all drawstrings from hoods and waistbands on baby clothes. Cribs should never contain blankets, pillows, or bumper pads that could trap a baby.
Furniture and cabinet doors can pinch small fingers with serious force. I install pinch guards on doors and hinges in rooms where my baby plays. Heavy furniture must be anchored to walls because babies pull themselves up on anything within reach.
Selecting and Installing Babyproofing Products
Quality babyproofing products make a real difference in keeping children safe, and proper installation ensures they work as intended. I recommend focusing on certified products and deciding whether to tackle installation yourself or hire a professional.
Choosing Certified Products
I always look for products that meet safety standards from recognized organizations. The Juvenile Products Manufacturers Association (JPMA) certifies many babyproofing items through independent testing. Products with JPMA certification have passed strict safety requirements.
Check for clear labeling that shows the product meets ASTM International standards. These standards cover items like safety straps, window guards, and childproof locks. Corner guards and outlet covers should be made from non-toxic materials that won’t break into small pieces.
I test products before buying when possible. Childproof locks should be difficult for children to open but still manageable for adults. Safety straps need strong anchoring hardware that can support heavy furniture.
Avoid products with small parts that could become choking hazards. Read reviews from other parents about durability since babyproofing items get heavy use. Replace any product that shows signs of wear like cracks or peeling.
DIY vs. Professional Childproofing
Most babyproofing tasks are manageable for DIY installation. I can install outlet covers, corner guards, and cabinet locks with basic tools. These products typically come with instructions and require only a screwdriver or adhesive backing.
Some situations call for professional help. The International Association for Child Safety offers certified childproofing professionals who know how to spot hazards. I hire professionals for complex jobs like installing window guards on upper floors or anchoring heavy furniture to walls in older homes.
Professional childproofing services conduct whole-home assessments that might reveal risks I missed. They have experience with different home layouts and building materials. However, professional services cost more than DIY solutions.
I balance cost and safety by handling simple installations myself and getting professional help for high-risk areas. Window guards and safety straps for furniture anchoring are worth expert installation if I’m unsure about wall structure or proper placement.
Room-by-Room Safety Solutions
Each room in your home presents different hazards that need specific attention. Focus on securing heavy furniture, blocking access to dangerous areas, and locking away harmful substances throughout your house.
Securing Living Areas
I recommend starting with furniture anchors to secure bookcases, dressers, and TVs to the wall. These items can tip over when babies pull themselves up or try to climb. Use two anchors per piece and screw them into wall studs for the best hold.
Safety gates are essential for blocking off stairs and doorways. I suggest hardware-mounted gates at the top of stairs because they’re more secure than pressure-mounted ones. Look for gates you can open with one hand and models without a bottom bar that could cause trips.
Cover sharp corners on coffee tables and fireplace hearths with cushioned bumpers. I find the larger corner guards work better because they’re harder for babies to pull off and choke on.
Use outlet covers on all electrical outlets within reach. The sliding plate covers are better than small plastic plugs that can become choking hazards. Secure loose cords with ties or covers to prevent strangulation risks.
Safe Nursery and Sleeping Areas
Buy a new crib that meets current safety standards. Old cribs may have drop sides, lead paint, or broken parts that put babies at risk. The mattress should fit snugly with no gaps on any side where a baby could get trapped.
Keep the crib empty except for a fitted sheet. I don’t recommend pillows, blankets, stuffed animals, or crib bumpers for babies under one year old because they increase suffocation risk.
Anchor furniture like dressers and changing tables to the wall. Never place your TV on top of a dresser where it could tip onto your child. Keep the changing pad strapped to the table and never walk away during a diaper change.
Move mobiles and wall decorations out of reach once your baby can stand. Check window blind cords and either cut them short, use cord keepers, or switch to cordless blinds to prevent strangulation.
Controlling Kitchen Hazards
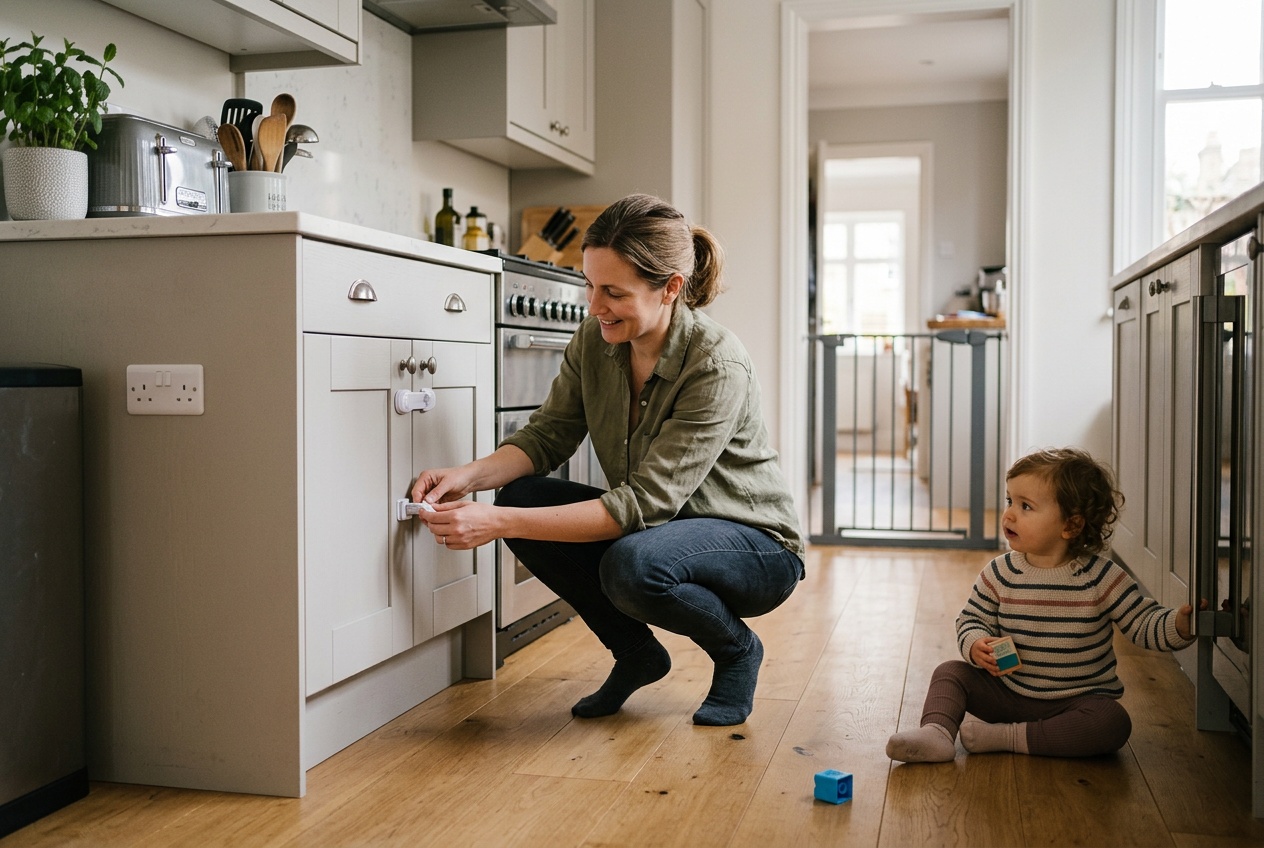
Cabinet locks and drawer locks are necessary to keep babies out of cleaning products, sharp objects, and plastic bags. I use locks on lower cabinets that contain anything dangerous. You might leave one unlocked cabinet with safe items like plastic containers for babies to explore.
Install stove knob covers to prevent your child from turning on burners. A stove guard creates a barrier between your baby and hot pots. I always turn pot handles toward the back of the stove while cooking.
Use an appliance latch on the oven door and keep countertop appliances unplugged when not in use. Lock up all vitamins and supplements because they look like candy but can cause iron poisoning in large amounts.
Keep a fire extinguisher mounted in an accessible spot but out of your child’s reach. The chemicals inside are toxic if swallowed.
Kitchen Safety Checklist:
- Lock cabinets with cleaning supplies
- Install stove knob covers
- Use appliance latch on oven
- Secure or remove refrigerator magnets
- Lock up vitamins and medicine
- Keep fire extinguisher accessible
Protecting Bathrooms and Laundry Rooms
Install toilet locks on every toilet in your home. Babies can drown in just two inches of water and are drawn to toilets as places to play. Cabinet locks keep cleaning products, razors, and medications out of reach.
Never leave your baby alone in the bathtub for even one second. Turn your water heater down to 120°F to prevent scalding. Use a bath thermometer to check that water stays around 100°F.
In the laundry room, I keep all detergents and cleaning products in locked cabinets. Lock the washer and dryer when not in use so kids can’t climb inside. Anchor these heavy appliances to prevent tipping.
Store beauty products, hair dryers, and straightening irons in locked drawers when not in use. Keep medicines in a locked cabinet or safe, not in an easily opened medicine cabinet above the sink.
Special Considerations for Toxins and Burns
Toxic substances like lead and household chemicals pose serious health risks to young children, while burns from hot surfaces and fires remain leading causes of injury. I focus on these two critical areas to help protect my child from preventable harm.
Lead and Chemical Safety
I check all toys and jewelry my baby uses to make sure they haven’t been recalled for high lead levels. Lead poisoning can damage my child’s brain and nervous system, even in small amounts.
I store all cleaning products, medications, and chemicals in locked cabinets that my child cannot reach. This includes laundry detergent pods, which look like candy to small children. I never transfer toxic substances into drink bottles or food containers.
Common toxic hazards I secure:
- Household cleaners and bleach
- Medications and vitamins
- Personal care products
- Pesticides and fertilizers
- Paint and paint thinner
- Automotive fluids
I keep the Poison Control number (1-800-222-1222) saved in my phone and posted near my landline. If my child swallows something harmful, I call immediately rather than waiting for symptoms to appear.
I test my home for lead paint if it was built before 1978. Peeling paint chips are a major source of lead exposure for young children who put things in their mouths.
Fire and Heat Risk Prevention
I install smoke detectors on every level of my home and inside each bedroom. I test them monthly and replace batteries twice a year. I also install carbon monoxide detectors near sleeping areas since this deadly gas has no smell or color.
I keep a fire extinguisher in my kitchen and learn how to use it before an emergency happens. I turn pot handles toward the back of the stove so my child cannot grab them. I set my water heater to 120°F or below to prevent scalding burns.
I create a fire escape plan with two exits from each room. I practice this plan with my family every six months. I never leave candles, space heaters, or fireplaces unattended when my child is awake.
I cover electrical outlets and keep cords out of reach. I check that my child cannot access matches, lighters, or the stove controls.
Maintaining and Updating Your Babyproofing Efforts
Safety devices wear out over time and need regular checks to work properly. Product recalls happen frequently, so staying informed about the babyproofing products in your home protects your child from known hazards.
Periodic Home Inspections
I recommend walking through your home every three months to check all child safety measures. Get down to your child’s eye level to spot hazards you might miss from adult height.
Key areas to inspect:
- Safety gates - Test hinges, latches, and mounting hardware for looseness or damage
- Cabinet locks - Verify they still engage properly and haven’t been figured out by your child
- Outlet covers - Replace any that have become loose or cracked
- Furniture anchors - Pull on secured items to confirm straps remain tight
- Corner guards - Check for detachment or wear that reduces protection
I also examine areas where my child spends the most time. New hazards appear as children grow taller and gain skills. A babyproofing checklist helps me track what I’ve reviewed and what needs attention. During each inspection, I remove items that have moved within reach and update gates if my child has learned to climb over them.
Aging Safety Devices and Product Recalls
Babyproofing products don’t last forever. Plastic components crack, adhesives fail, and moving parts wear out. I replace any device showing visible damage or that no longer functions as intended.
I sign up for recall alerts through the Consumer Product Safety Commission website. Manufacturers issue recalls when they discover safety defects in products already sold. I keep purchase records and model numbers for all child safety items in my home. This makes it easy to check if something I own has been recalled.
I check recall databases every few months even without alerts. Some older products may have recalls I missed when they were first announced. If I find a recalled item, I stop using it immediately and follow the manufacturer’s instructions for returns or replacements.